draya the dark master
Sort of Undead atm♥
☆ For a while I have been making these "dream world splices" and have been trying to spread it until it is something common (I have never seen one until I started... I would like to consider myself the founder in basic terms).
☆ They are just like normal spriting but a little more complex... the dream world spriting can include splicing, recolours and shines (since there is no such thing as a DW shiny sprite).
☆ I have noticed a lot of people have been following the shiny and recolor sides of DW spriting but i have seen very few people having a go at actual splicing... I would like to make this thread for spriters to have a go and post their attempts at DW spriting.
-------------------------------------------------------
☆ Here are some examples of what I have done… o will add more as i get new ideas...
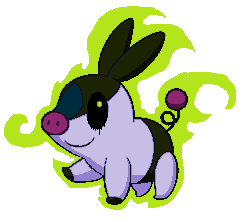
☆Recolours☆
☆Fusions☆

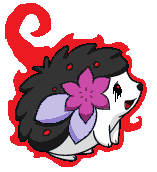
☆Nightmares☆
☆Just a Little of Random☆
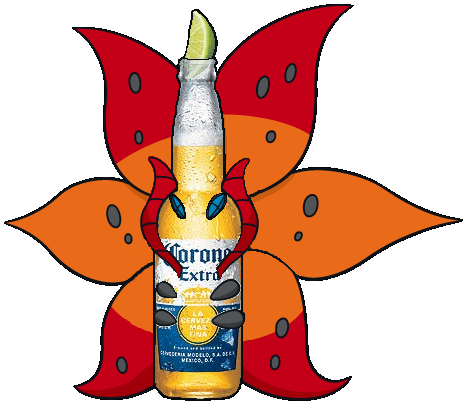
(Its VolCorona Extra)
-------------------------------------------------------
☆ Don’t have Photoshop??? Don’t worry, neither do I… I have never used Photoshop in my life and all of these where done on MS Paint… the main thing that you need for this is a reliable sprite resource that can give you very good quality DWs as it makes things so much easier.
-------------------------------------------------------
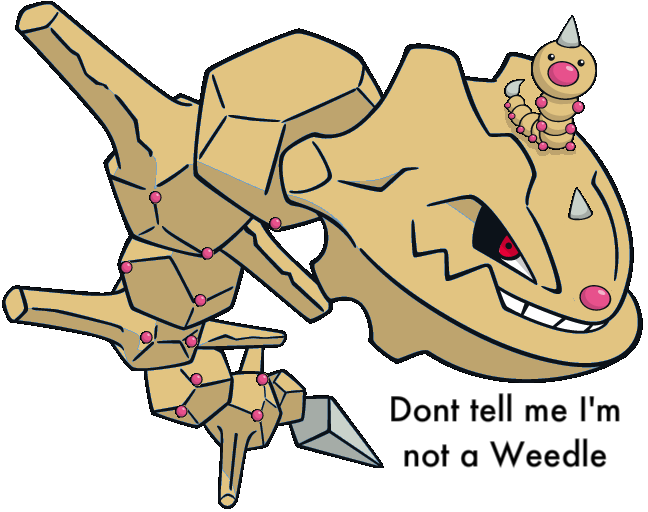
☆ Not get the result you wanted… don’t worry, it does take some practice. The main thing that you need to understand is that DWs often have unusual sprites and some of them just won’t go together the way you want them too… have a good hard look at the sprites that you want to put together and try and find a way they will work (since the sizes are a little funny I recommend that you avoid trying to fuse Pokémon like Weedle and Steelix)
-------------------------------------------------------
☆The Tutorial☆
☆OMG i actually put it up finally☆
☆Prerequisites☆
- You must already have basic spriting knowledge.
- You must have a reliable resource for good quality DW sprites (the only one that I have found is PLDH.net)
- You don’t need Photoshop or any similar programs… I always have and always will do these in MS Paint
- I will add more if I can think of them
☆Sizes☆
DWs Often have very Unusual sizes… this can make it difficult to fuse certain Pokémon. If you have to fuse these Pokémon of different sizes your best option would be to use the larger Pokémon as the base as to not ruin the quality of the sprites as badly (basically what I’m saying is that resizing stuffs up the quality of the sprites regardless… so try and use Pokémon that would be roughly the same sizes… Not Weedle and Steelix, unless you really must ).
).
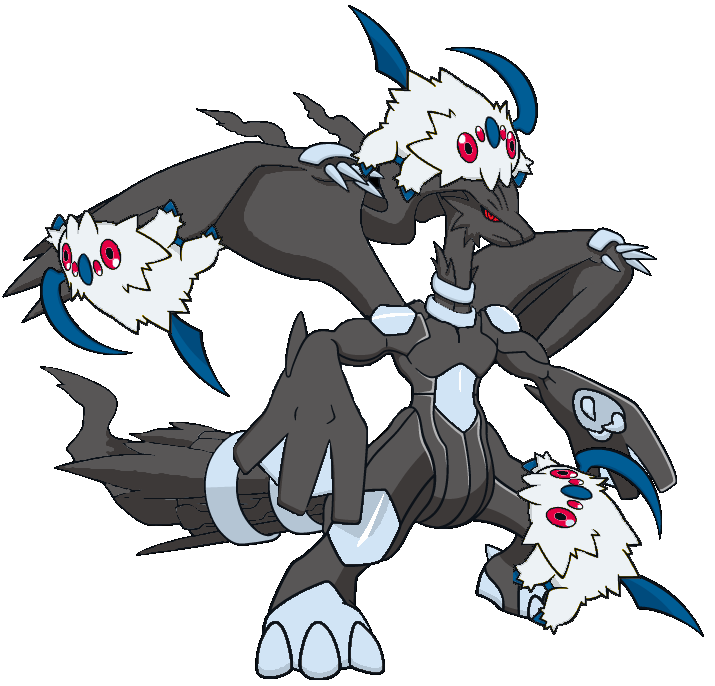
☆Choose your Pokémon☆
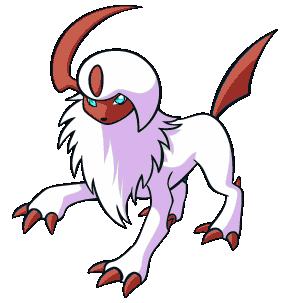
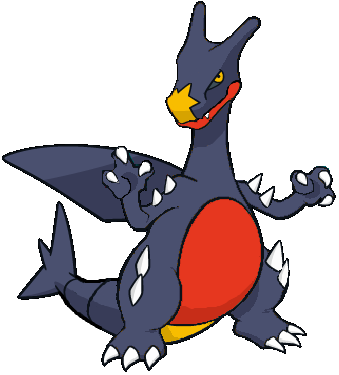
First up you have to choose the Pokémon that you want to use, whether it is for a shop, practice, you just feel like doing one or in my case for this tutorial… I have chosen Umbreon and Crobat (2 of my favorite gen 2 Pokémon)… be Shure to keep sizes in mind, as you can see crobat is much bigger than Umbreon.
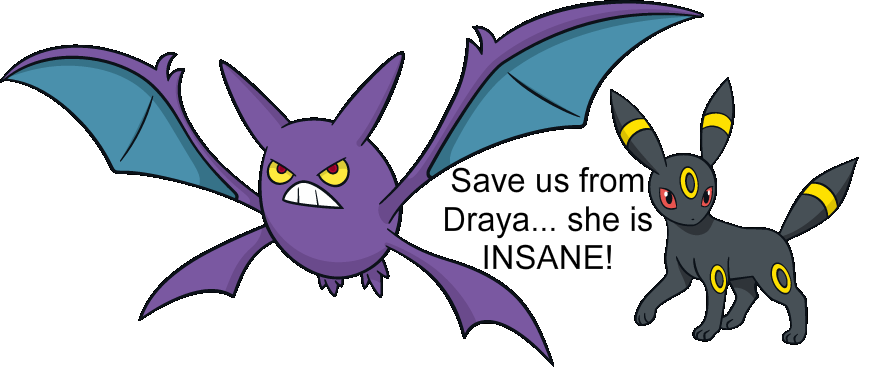
☆The Pieces you Want☆
Look at the 2 chosen Pokémon and think of ways you can put them together that isn’t too far past your skill level... once you have thought of remove the parts that you need to use… in my case I have chosen to take the main features of Crobat and add them to Umbreon for a kind of Flying type Eeveeloution… when choosing your parts I recommend that you use the Pokémon with the less distinctive features (i.e. Without major wings, long tails, big ears, horns, etc.) as your base, making it a bit easier to put together.
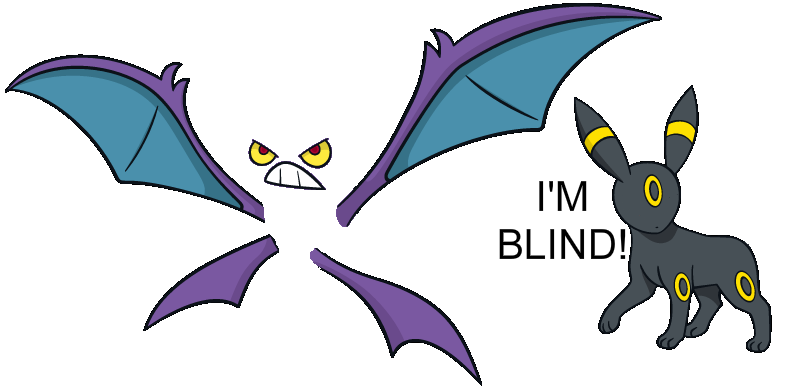
☆Putting them Together☆
This is where you bring in your basic spriting knowledge to put the chosen parts together… and just like spriting you will find that some parts simply won’t work, as you can see with mine, Crobat’s teeth didn’t fit onto Umbreon’s head in a way that I found desirable, nor did I find I nice way to put in the 2nd tail piece either so I left those things out (again I don’t recommend resizing as it reduces the quality of the images).
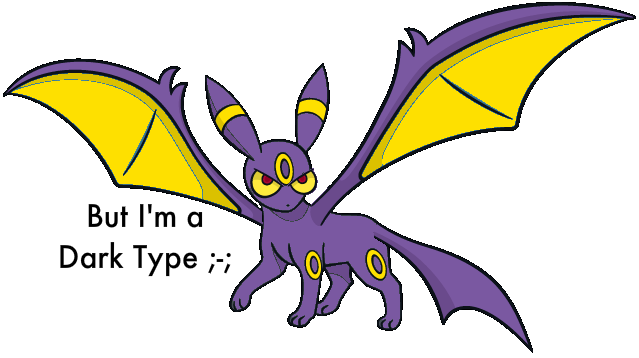
☆Recoloring☆
This is probably the easiest step… use the colour grab tool to replicate the colours of the Pokémon that you want and the fill in tool to just smash it into the areas that you want… I have done a combination of both Crobat and Umbreon’s colours into my fusion.
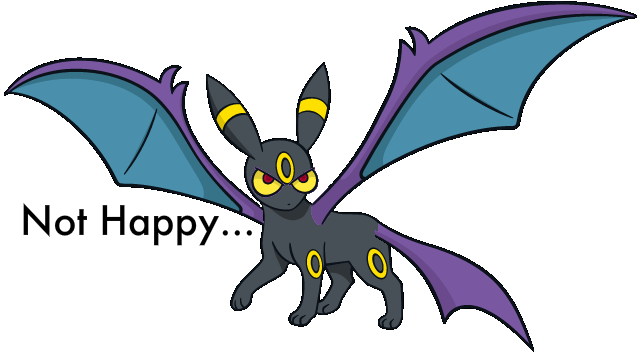
☆The Final Touches☆
OMG what’s with those ugly lines around the edges… that’s normal because you are up to the most time consuming and boring part, because pixel by pixel you must go in and get rid of those lines around the edges as well as touch up rouge lines and very scratchy looking parts (this last step is basically where you need to take the most care)… as you can see with mine I have fixed up the edges as well as the eye that poked out a little too much and the tail.
CHEAT ALERT!: A way to reduce the time it takes to do this final step instead of using 100 different shades of the same yellow to get the recolour perfect just use the main 2 for each colour (the main and the shadow shade) I often find that’s all you need anyway… this proves very efficient especially if you use in in your graphics shop.
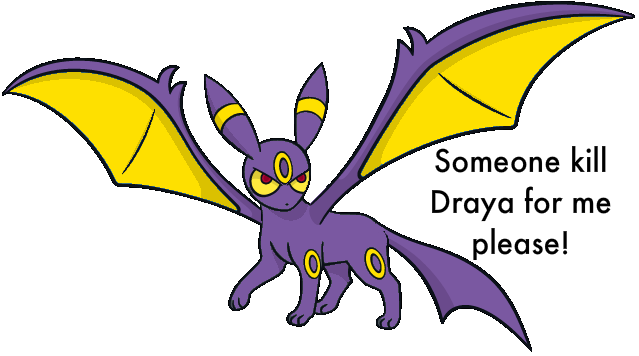
☆The Finished Product☆
What is this!!! I don’t even!!! OMG it’s finally over *sighs*
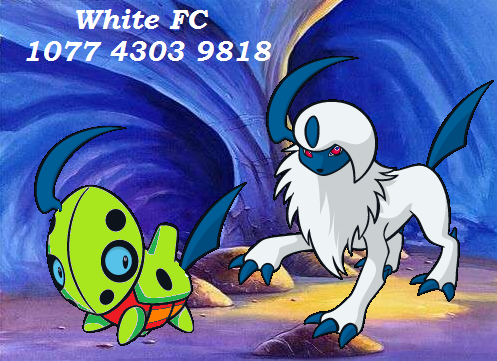
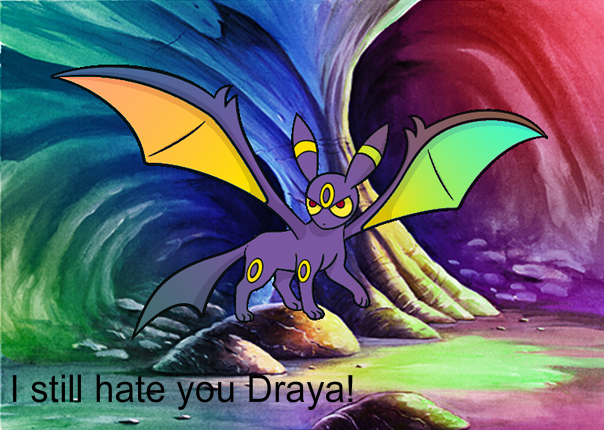
But you put so much effort in why stop when it’s finished… DW fusions look great in banners, sigs, wallpapers and icons… I’ve just put mine in a cave with a bit of colour for lazy’s sake but the options are limitless, especially for an artist like yourself ^_^.
...
Crobreon Hates me ;-;
- You must already have basic spriting knowledge.
- You must have a reliable resource for good quality DW sprites (the only one that I have found is PLDH.net)
- You don’t need Photoshop or any similar programs… I always have and always will do these in MS Paint
- I will add more if I can think of them
☆Sizes☆
DWs Often have very Unusual sizes… this can make it difficult to fuse certain Pokémon. If you have to fuse these Pokémon of different sizes your best option would be to use the larger Pokémon as the base as to not ruin the quality of the sprites as badly (basically what I’m saying is that resizing stuffs up the quality of the sprites regardless… so try and use Pokémon that would be roughly the same sizes… Not Weedle and Steelix, unless you really must
).
☆Choose your Pokémon☆
First up you have to choose the Pokémon that you want to use, whether it is for a shop, practice, you just feel like doing one or in my case for this tutorial… I have chosen Umbreon and Crobat (2 of my favorite gen 2 Pokémon)… be Shure to keep sizes in mind, as you can see crobat is much bigger than Umbreon.
☆The Pieces you Want☆
Look at the 2 chosen Pokémon and think of ways you can put them together that isn’t too far past your skill level... once you have thought of remove the parts that you need to use… in my case I have chosen to take the main features of Crobat and add them to Umbreon for a kind of Flying type Eeveeloution… when choosing your parts I recommend that you use the Pokémon with the less distinctive features (i.e. Without major wings, long tails, big ears, horns, etc.) as your base, making it a bit easier to put together.
☆Putting them Together☆
This is where you bring in your basic spriting knowledge to put the chosen parts together… and just like spriting you will find that some parts simply won’t work, as you can see with mine, Crobat’s teeth didn’t fit onto Umbreon’s head in a way that I found desirable, nor did I find I nice way to put in the 2nd tail piece either so I left those things out (again I don’t recommend resizing as it reduces the quality of the images).
☆Recoloring☆
This is probably the easiest step… use the colour grab tool to replicate the colours of the Pokémon that you want and the fill in tool to just smash it into the areas that you want… I have done a combination of both Crobat and Umbreon’s colours into my fusion.
☆The Final Touches☆
OMG what’s with those ugly lines around the edges… that’s normal because you are up to the most time consuming and boring part, because pixel by pixel you must go in and get rid of those lines around the edges as well as touch up rouge lines and very scratchy looking parts (this last step is basically where you need to take the most care)… as you can see with mine I have fixed up the edges as well as the eye that poked out a little too much and the tail.
CHEAT ALERT!: A way to reduce the time it takes to do this final step instead of using 100 different shades of the same yellow to get the recolour perfect just use the main 2 for each colour (the main and the shadow shade) I often find that’s all you need anyway… this proves very efficient especially if you use in in your graphics shop.
☆The Finished Product☆
What is this!!! I don’t even!!! OMG it’s finally over *sighs*
But you put so much effort in why stop when it’s finished… DW fusions look great in banners, sigs, wallpapers and icons… I’ve just put mine in a cave with a bit of colour for lazy’s sake but the options are limitless, especially for an artist like yourself ^_^.
...
Crobreon Hates me ;-;
Last edited: